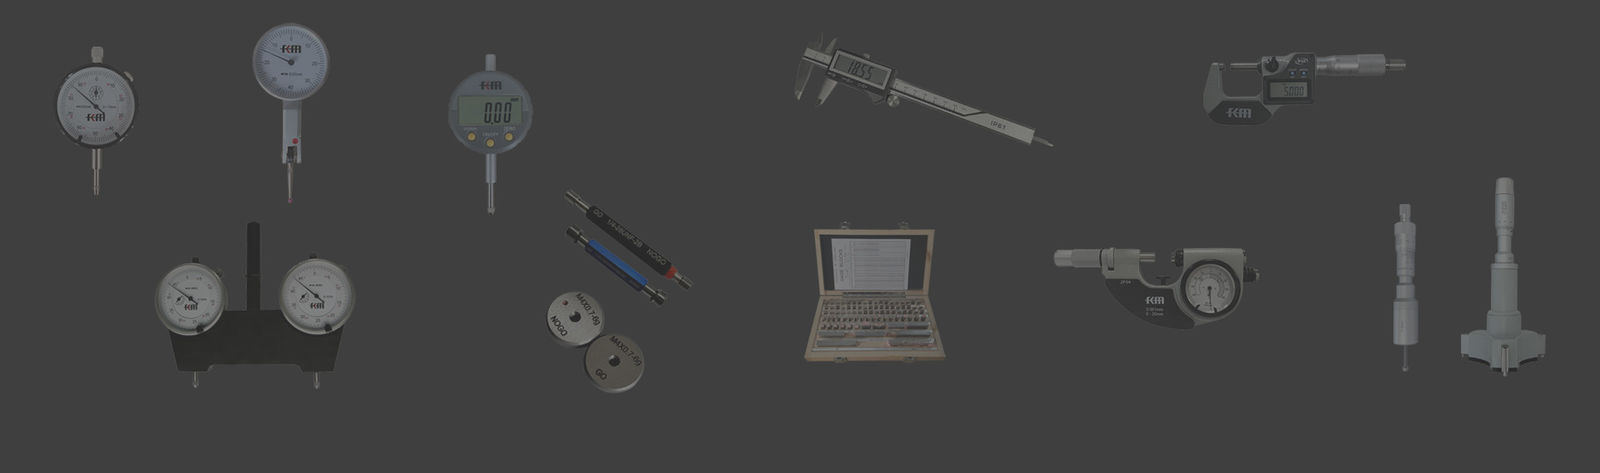
ตัวชี้วัดดวงเป็นส่วนที่จําเป็นของเครื่องมือวัดความแม่นยํา และตัวชี้วัดเป็นหนึ่งในองค์ประกอบหลักของมัน เมื่อตัวชี้วัดของตัวชี้วัดดวงเสียหายหรือไม่แม่นยําการเปลี่ยนในเวลาที่ถูกต้องเป็นกุญแจในการรับประกันความแม่นยําของการวัดบทความนี้จะนําเสนอในรายละเอียด ขั้นตอนและข้อควรระวังสําหรับการเปลี่ยนตัวชี้ชี้ชี้ชี้ชี้ชี้ชี้ชี้ชี้ชี้ชี้

I. ความสําคัญของตัวชี้ไมโครเมตร
II. การเตรียมการเปลี่ยนตัวชี้ไมโครเมตร
III ขั้นตอนในการเปลี่ยนตัวชี้ไมโครเมตร
IV. ข้อควรระวังในการเปลี่ยนตัวชี้
V. การปรับระดับหลังจากเปลี่ยนตัวชี้ของไมโครเมตร
คําถามและคําตอบ ที่คุณอาจสนใจคือ:
Q:ความแม่นยําของเครื่องวัดวงจรจะมีผลกระทบหลังจากเปลี่ยน?
A:หากการเปลี่ยนและการปรับขนาดถูกต้อง ความแม่นยําจะไม่ถูกส่งผลกระทบอย่างสําคัญ แต่ก็แนะนําให้ปรับขนาดก่อนการวัดที่สําคัญ
Q:คุณ จะ ตัดสิน ใจ ได้ อย่าง ไร ว่า ตัว ชี้ เลือก ที่ มี กว้าง ต้อง เปลี่ยน?
A:เมื่อตัวชี้โค้ง ไม่มั่นคงในการโยน ของมัน การกระโดดในการอ่าน หรือไม่ตรงกับค่าที่แท้จริง มันเป็นสัญญาณที่มันต้องการที่จะเปลี่ยน
Q:ผู้ใช้ทั่วไปสามารถเปลี่ยนตัวชี้วัดเลกชั่นเองได้หรือไม่
A:แนะนําให้มีมืออาชีพทํา หากคุณต้องเปลี่ยนมันด้วยตัวเอง จงปฏิบัติตามขั้นตอนการใช้งานอย่างเคร่งครัด และทําการปรับขนาดอย่างมืออาชีพหลังจากเปลี่ยน
การ เปลี่ยน ตัวกระจก เลือก อาจ ดู ง่าย แต่ จริงๆ แล้ว มัน เป็น งาน ที่ ละเอียด. การ เปลี่ยน ตัวกระจก เลือก ที่ ถูก ต้อง ไม่ เพียง แต่ จะ ทํา ให้ ตัวกระจก เลือก ได้ คืน ความ แม่น ยํา แต่ ยัง จะ ทํา ให้ ตัวกระจก ใช้ งาน ได้ ยาว นาน.การ ปรับปรุง อุปกรณ์ ที่ มี ความ อ่อนโยนการบํารุงรักษาเป็นประจําและการเปลี่ยนส่วนประกอบในเวลาที่เหมาะสมจะทําให้เครื่องวัดวงจรของคุณยังคงอยู่ในสภาพที่ดีที่สุด และให้การสนับสนุนที่น่าเชื่อถือสําหรับงานวัดที่แม่นยําของคุณ.